Dear friends, I just came upon this uplifting video about Mark Walsh and the work he and his team are currently doing in Poland and Ukraine in response to the invasion.
This is the text from the youtube video:
If you’d like to support the Sane Ukraine Project, please click here: www.saneukraine.org
In this video, Alex Howard talks to Mark Walsh who recently launched the Sane Ukraine Project. The fundraising project will support Mark and his team to deliver trauma and resilience training to twenty local psychologists and coaches, which will in turn allow them to administer trauma emergency aid in Ukraine. In addition, the team will also be delivering practical medical and humanitarian supplies to refugees in Lviv. Click here to find out more and donate: www.saneukraine.org
“Where once there was a global, strong, resilient, functionally interconnected nest of ecosystems, today in so many places life is clinging on and hanging together by a thread. In many places those fine threads have already broken and much life has been lost. Because ecosystems are (at least potentially) everywhere, a forest garden opens up the possibility to connect with life, and to enhance, sustain and protect it as a whole even beyond the garden boundary, with small local ecosystems effectively nested within larger and yet larger ones, such that all life is connected and interdependent. Thus every part of every place is an important part of the whole, every link is needed; and when any connections break everything else is impacted.
Each place – whether small or large – that can become a functioning, healthy ecosystem can make a meaningful difference. Size is not significant. Everywhere is significant because it is an intrinsic and indispensable part of the whole. We have been warned for years about the decline in honeybee forage plants and more recently about huge declines in insect numbers more generally. Because the earth-wide losses are so huge that every little bit of respite and repair that nature can get is disproportionately valuable and can have more, not less, impact.
The last animals and plants in any population are rightly deemed as supremely important. Why would we wait until we are down to the last remaining ants or dandelions to value them?” quoted from ‘the garden of equal delights‘ page 156
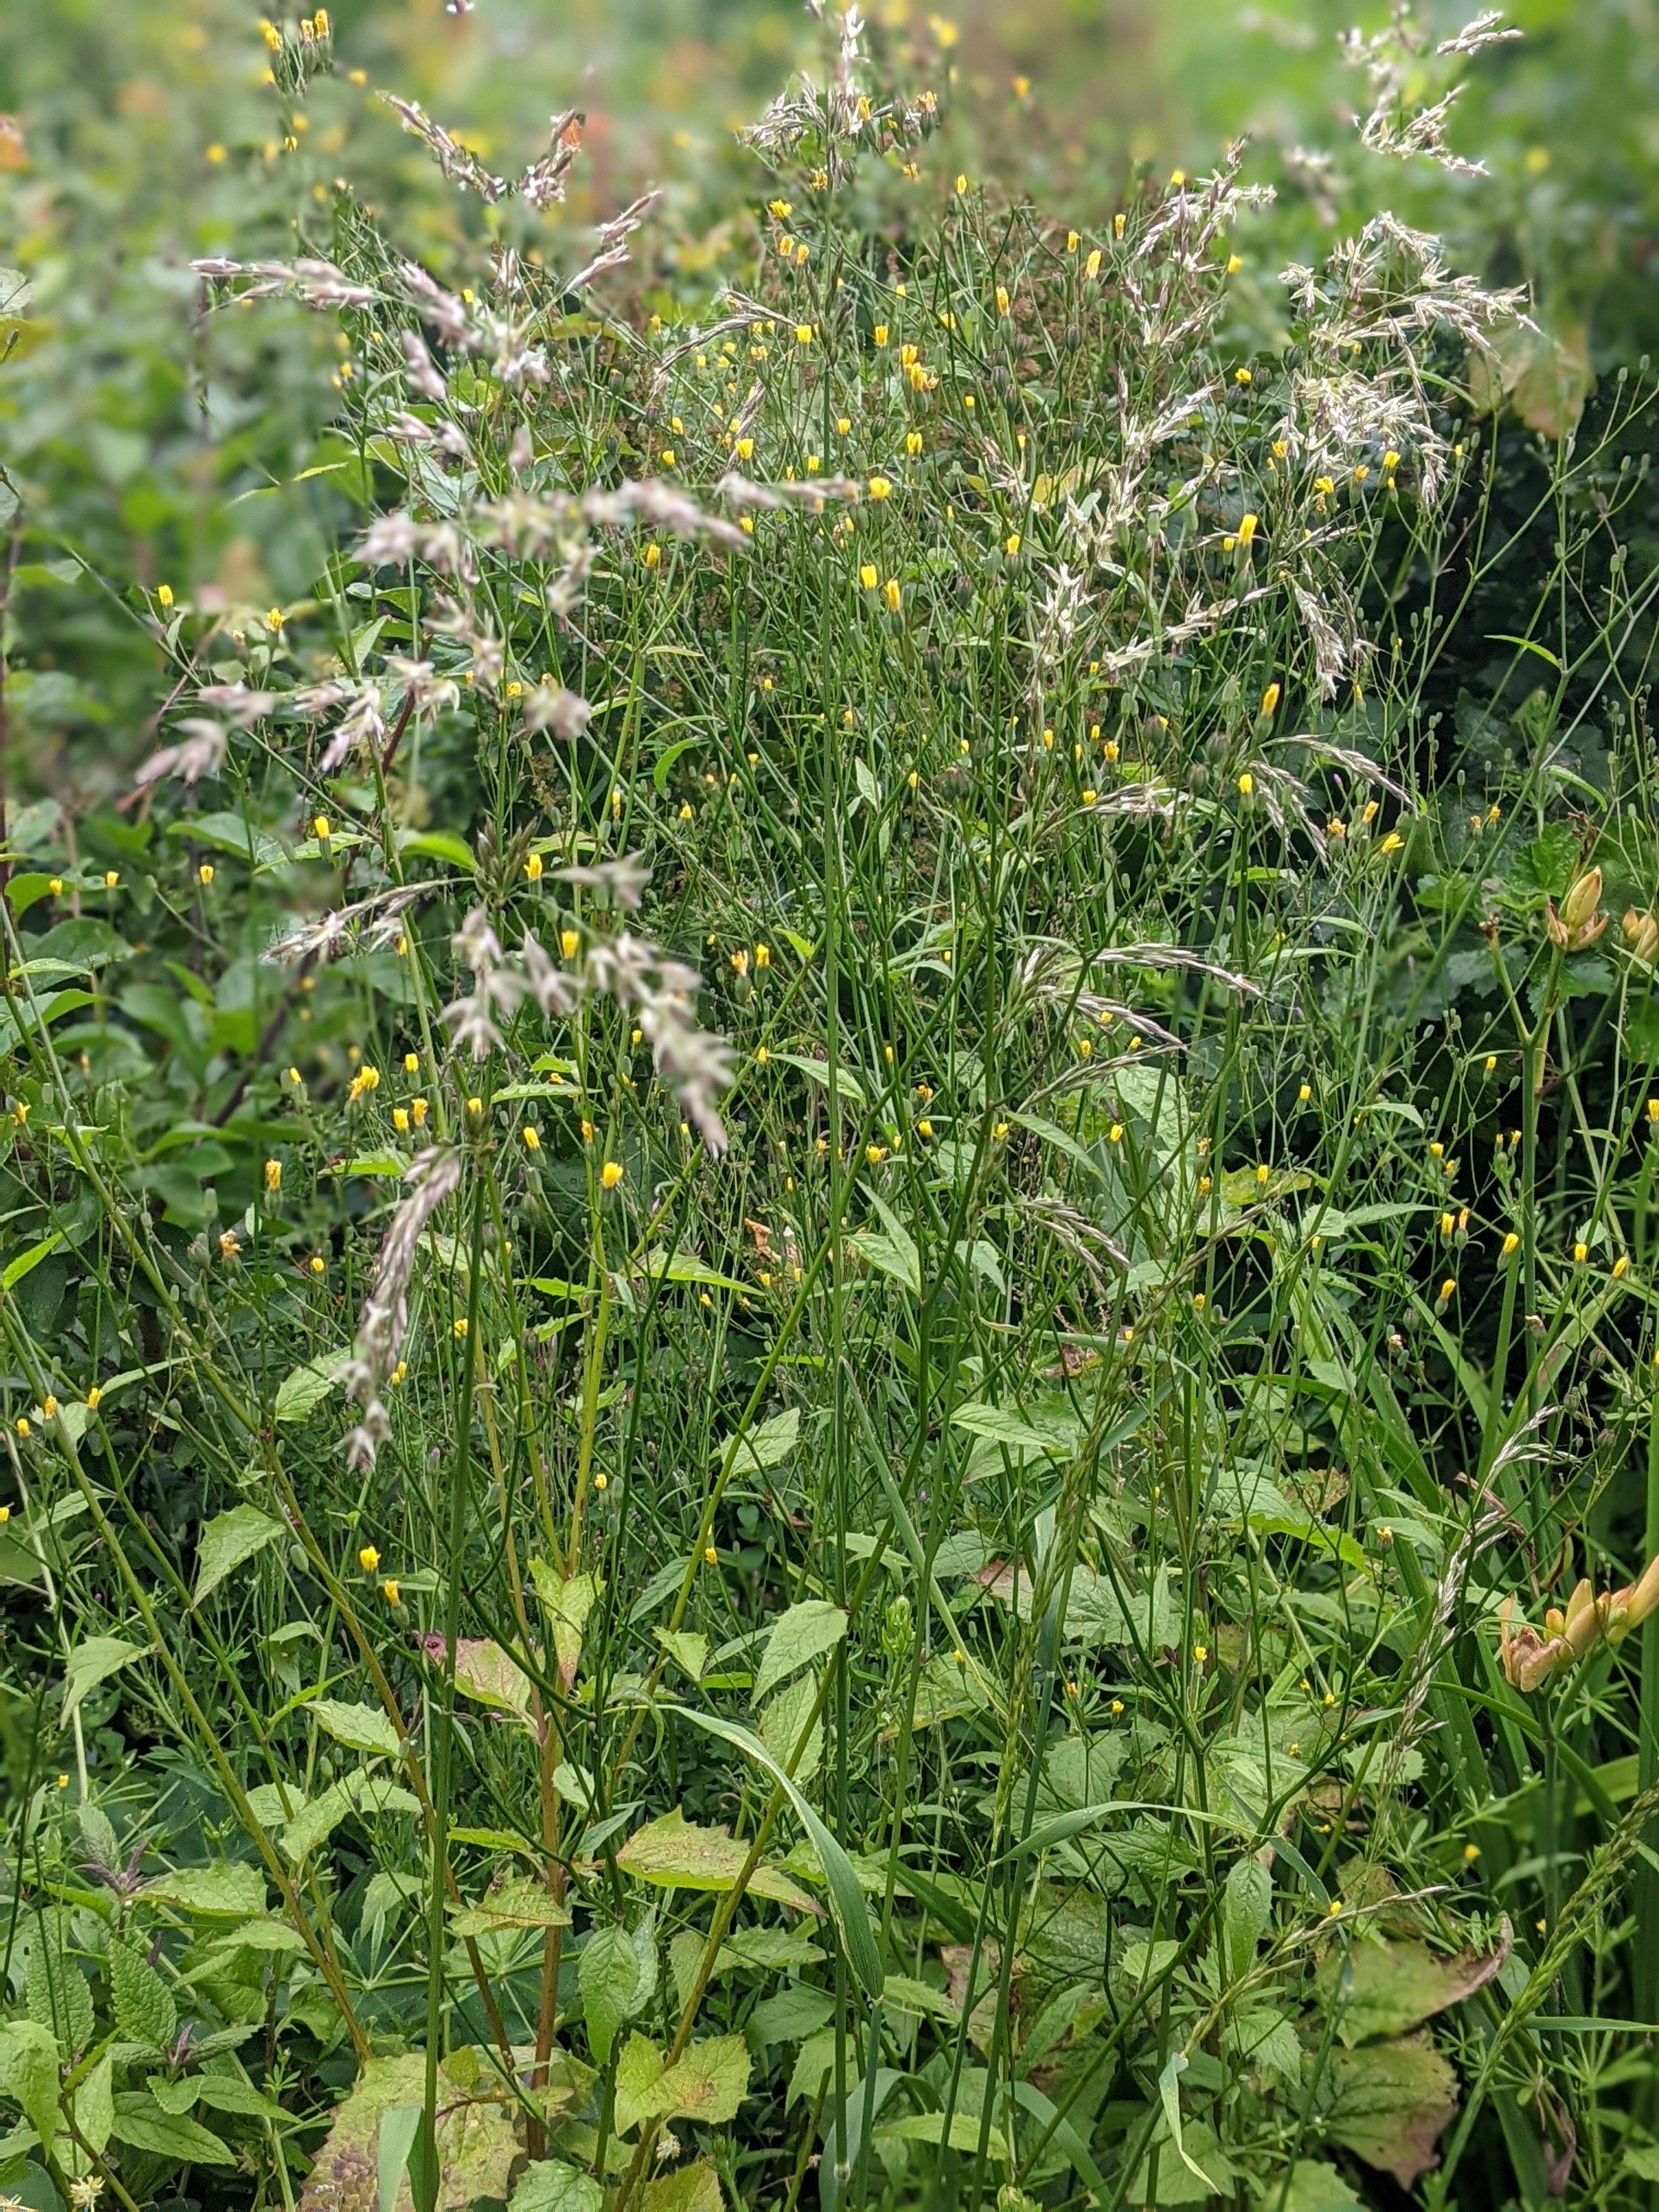
nature unfolding in the forest garden, summer 2021
After deciding on the main plants that you simply must have in the forest garden it can then be a struggle to decide which of the other possible plants to prioritise and to include and which to exclude (at least for the moment). Here are my thoughts on a few of these possibilities:
I have had an aronia bush for many years, first grown in a pot and then transplanted to the current forest garden about eight years ago. It is a beautiful bush with lovely spring flowers and colourful autumn foliage. The black berries are borne in clusters and often eaten by birds. However this year the birds have not touched them and as the berries were starting to wrinkle and fall off I decided it would be okay to take them for personal use.
chokeberry / aronia berries
A few years ago I made some aronia vodka using a portion of the berries and gave bottles to family and friends at Christmas that year. A spare bottle emerged from the back of a kitchen cupboard a few weeks ago and I had my first taste of it – which was very nice. I almost never touch any alcohol (I had some champagne at the millennium and nothing since!) but given the health benefits of aronia I decided to take just a teaspoonful a day.
This year I have made some aronia syrup which is cooling as I write. I boiled the 575 grams of aronia berries in 500 grams water until they were soft and mushy. I then put them in a muslin jelly bag and left them to drip through overnight and squeezed them out this morning. The liquid weighed 757 grams and I added 400 grams of sugar, brought it to the boil for 10 minutes and then bottled it. This was a combination / guesswork recipe but it seems to have worked and produced a pleasant tasting sweet syrup. I will probably have a teaspoonful a day (possibly diluted) when the vodka has all gone. One additional benefit is that we can also give this syrup to our grandchildren.
blue sausage fruit
I planted this tree about five years ago when I found one for sale at a flower show. This is the first year it has flowered and now fruited. The advice on how to eat this is that you suck the pulp from the pod and spit out the seeds. I picked a plump, deep blue pod and sliced into it to see what was inside and my partner and I both took a (delicate) teaspoonful of pulp and seeds. The taste was very, very mild and it was pleasant, but there was considerably more seed than pulp. Given these proportions it was already looking like a very marginal benefit to harvest and eat these pods. As eating the pod made a rather sticky mess I had inadvertently got some of the pulp on my lips, and after a couple of minutes I became aware of it being ultra sticky and quite unpleasant – a bit like I had put glue on my lips. Not very nice. And Pat had the same experience. We have both decided that this plant, despite it being novel and interesting is not something we actually want to grow and I will remove it and plant something else next spring. This is with a somewhat heavy heart as I almost never do this, but it is not native and therefore cannot offer anything to wildlife either.
blue sausage fruit
perennial leek bulbils
Perennial leeks are a member of the onion family that produce flowers followed by spherical heads of tiny bulbils, sometimes hundreds per head. New plants can be grown from the bulbils and you can also eat them. Given the numbers produced and that I already have plenty of mature plants I have harvested the bulbils for imminent use and have stored them in a jar but not in the fridge. I anticipate that they will keep well, but time will prove (or disprove) this.
Despite their tiny size they taste very strongly of onion / garlic and just a few can be used in place of garlic to flavour cooking. All the alliums (onion family) plants share similar health benefits. Two relatively small heads produced the bulbils in the photo below and I will be out in the garden later on today to collect the remaining bulbil heads and store them whole until they are needed.
Whether it is flowers, foliage, fruit or seeds – every part of every plant’s life is precious with a unique place in the never ending cycle of life. As forest gardeners we are here to watch as this marvel unfolds, giving every plant the opportunity to live out its own life and to feed the lives of other beings.
The calendula has been flowering for months and is not finished yet. It will no doubt re-seed itself in situ and I have also collected some ripe seed and scattered it around the garden to multiply its loveliness!
calendula
This fuschia lives in a shady part of the garden and is late to flower. Others in sunnier spots are bearing a few ripe fruits, our five year old granddaughter, who loves to scour the garden for edibles, pronounced that “fuschia fruits are lovely“.
fuschia
This chicory plant seeded itself this summer, it must have grown from seed deposited by a plant that was close by several years ago. A friend is eagerly awaiting this year’s seed so she can grow some in her garden.
chicory
I have long wanted autumn crocus and found a pack in the local garden centre a few weeks ago.
autumn crocus
I planted several guelder roses in a new border about two years ago to provide autumn colour and berries for the birds and this resplendent bush is the reddest and ‘berriest’ of them all.
guelder rose
Two years ago I visited the kitchen garden at Chirk Castle and fell in love with the brilliantly coloured crab apples.
crab apple
Never have I seen such a shiny apple! The tree was positively luminous with them all glowing away! However this year, along with all the fruit, it is late to mature (it should have been ripe in September) and the flavour is a bit disappointing. I am blaming the cool and relatively sunless summer months. Nonetheless I am always profoundly grateful for every morsel of harvested food.
apple, Ellison’s Orange
Late frosts took a heavy toll on the pear trees which had been absolutely laden with blossom. However one pear bore plenty of fruit which ripened whilst we were away in September, but the neighbours enjoyed them! There were about a dozen pears on each of the other two pear trees.
second part of the pear harvest plus Ellison’s Orange apples and a test apple from each of Sunset, Trwyn Mochyn and Newton Wonder.
This is the first year the blue sausage fruit tree has flowered and fruited. I am waiting until the pods are a little bit bluer before investigating their taste.
blue sausage fruit
The acer came from our previous home where it grew in a pot and is unashamedly decorative and beautiful all year round.
acer tree with Cariad cherry behind
This is a wonderfully colourful kale plant and (like all the others I have tried) it is well able to resprout at this time of year, despite being munched back to bare stalks by caterpillars.
Taunton Deane perennial kale resprouting after the annual munching of the caterpillars
A medicinal herb with gorgeous yellow daisy headed flowers and ultra attractive to bees – elecampane is spreading around the garden courtesy of these adorable, fluffy seed heads.
As far as possible the trees and plants in a forest garden should live for their full life span and reproduce themselves naturally and unaided.
Support nature’s transformational magic.
Whether in abundance or not, harvest only enough.
Demonstrate appreciation in meaningful and tangible ways.
“We need to understand that forest gardens work because of their internal ecology and their links to the ecology of their neighbourhood via visiting insects, birds and mammals. Everything about their structure, their functions and their benefits derives from this fact. Therefore, all aspects of their design, their planting and subsequent care must link fundamentally to this ecology and allow for natural processes to do much of the work conventionally done by the gardener. The forest garden principles guide, support and enable the gardener to trust the garden and to make ecologically sensitive decisions.” the garden of equal delights page 59.
Four years ago next month my partner and I were fortunate enough to be able to buy a small (3 acre) woodland in Shropshire. It is a beautiful mixed wood which at that time comprised mainly mature oak and birch, with one or two willow. Beneath this canopy layer there was alder, holly, hazel, rowan, hawthorn and blackthorn. Herbaceous plants included honeysuckle, bramble, bracken, ferns, wild raspberry and foxglove, and there was a groundcover of mixed grasses, mosses, bugle, tormentil, primrose and bluebells.
The woodland is designated as a semi natural ancient woodland, and it sits in an area of protected landscape in the South Shropshire Hills. Shortly after we purchased it, and in order to enhance the level of protection still further, the local council put a Tree Protection Order (TPO) on the woodland. The TPO means that we are not permitted to cut back or cut down any tree without first obtaining permission from the council.
All these designations mean that this particular wood is highly protected from the wrong kind of intervention, but this perhaps begs the question as to whether or not these protections are likely to (or even able to) promote or encourage beneficial interventions? Or whether indeed there is even a need for beneficial intervention? After all the wood contains a range trees and plants that are suited to the conditions and have been growing without any intervention for many years.
Before I had any direct experience, and in so far as I thought about it at all I thought that a natural woodland would be self maintaining and have no need for external support. However, with the destruction of so much of our natural environment and the severing of the interconnections between ecosystems, I now consider that all UK landscapes are incomplete, impoverished, and as a result they are very much in need of tender loving care.
Initially I did not think about what care the woodland would need – as this post of January 2018 shows all thoughts were of what we would do in the wood, rather than what we would do with or for it. However over the past four years we have learned that despite the inherent advantages of being both semi natural and ancient, our woodland has been experiencing setbacks and difficulties that work against it being able to function at its best.
As a result when Pat and I have visited and cared for our lovely woodland we have continually had the principles of forest gardening in mind. In a forest garden the aim is to guide the garden towards health, fertility and ultimately abundance by encouraging and supporting it towards having the structure and function of a natural woodland. And although it may sound strange the principles of forest gardening have helped guide us towards a deeper understanding of our wood and how we can best focus our support.
The first principle of forest gardening is:
Forest gardening is based upon the structure, composition and functioning of a natural woodland including the resultant ecosystem and its emergent properties. In a forest garden biodiversity means health; a living soil and increasing biomass mean increasing fertility, and together health and fertility mean abundance.
This then is the over arching aim – to guide the wood towards an even better state of health and fertility.
And the next three principles are:
First stop; don’t do anything until you need to and, in that prolonged pause, let go.
Everything the forest gardener does takes full account of the whole of the forest garden ecosystem – what has happened, what is happening and what they intend for the future.
Watch and wait.
And these are the means – firstly stopping, seeking to see every individual thing in the greater context of the whole, and simultaneously exercising the restraint of patient watching and waiting whilst the necessary understanding and insight is attained.
In future posts about the woodland I will describe and explain how this has worked / is working out in practice and more about the lessons that spring direct from nature when you take the time to watch and wait.
All life is connected and therefore utterly interdependent; and everything we do (or do not do) has an impact on the wider world.
“A less wild world is a less stable world.” David Attenborough speaking on BBC TV Earthshot programme no. 1
“My take on forest gardening has always been on the wilder side. This has been deliberate because I wanted to push that particular boundary and find out what would happen, and clearly none of our growing landscapes would work without the wild elements both within and without their ecosystems. My small forest garden on a Welsh hillside fits into the larger ecology of the neighbouring gardens, farmland and woods by virtue of the many and varied insects, animals and birds that live and feed thereabouts. Uncontained by human boundaries they need a wider landscape to call home and to thrive in because in the actual ‘real world’ it is not possible to draw a line around any single area or ecosystem that distinguishes or separates it from another one; and life will be continually crossing any boundary we may arbitrarily draw. So, what happens or does not happen in my garden affects my neighbours’ gardens, the woods across the road and the farms up and down the hill. And vice versa – what happens in those places affects my garden too. But further afield, across their farther boundaries, their ecologies are interacting with yet others – down in the valley, across to the river, amongst the distant hills or along the river and the canal to the town with its industrial estates and the nearby nature reserves, along the roadside verges and the railway line and eventually reaching the very different terrain of the mountains, the moors and the coast.”
For more explanation and information about this please read my book the garden of equal delights. The quote above is an excerpt from pages 155-6.
For years the trees, shrubs and other plants in my forest garden have been incredibly healthy with no sign of disease on them. However this year pear rust (gymnosporangium sabinae) arrived and I only really became aware of it as a problem today when I noticed ugly galls protruding from the lower surfaces of certain leaves. These leaves have had bright orange spots for several weeks and had I been aware of the disease this would have been a warning sign. Pear rust is unusual in that it needs both pear trees and juniper bushes to complete its life cycle. This article has more details.
Before looking this up I had been round the garden and collected a small bag of all the affected leaves I could find. Fortunately the trees are all small and easy to reach! If I see the tell tale orange patches in future years I will take the affected leaves off immediately to save the trees the stress of playing host to this fungus.
underside of leaf affected by pear rust
Over recent years it has become my habit to reference the most relevant forest gardening principle(s) at the end of each blog post. And this principle highlights just how being a forest gardener is a never ending journey of ever increasing learning and deepening understanding of what is unfolding before us.
Forest garden principle: Polyculture learning is slow learning.
Beautiful, tiny and shiny, both sweet and sharp at the same time, and borne in hundreds on mature bushes, these wonderful wineberries are one of my absolute favourites. There are more than I can pick and we can eat, and even in previous years when there were less I always left some for the birds and other animals.
I will certainly never be running a marathon (or any other race for that matter), but over recent weeks I have been on my own jam making marathon – my ‘jamathon’. The redcurrants, whitecurrants, gooseberries, blackcurrants and jostaberries have all been dripping off the bushes, pouring themselves to the ground on such heavy laden branches. In response I have been making more jams and jellies than I ever attempted before, but still leaving plenty for the birds to eat. So far I have used about 8 kg of fruit to make jams or jellies and have frozen a similar amount for another time!
I couldn’t find the book where I write my favourite jam and jelly recipes from previous years so I took a quick look online and then made a bit of a guess about the quantities to use. Because my partner and I don’t particularly like the sweetness of factory produced jam I have always made my own reduced sugar versions. So, I reduced the proportion of sugar drastically from the recipes I read online. And then after making the first batches of jam I found my recipe notebook and realised that this year’s jams are ultra low sugar! So I thought I would share them with you – for those of you who like to be able to taste the fruit more than the sugar. For comparison the BBC recipe for blackcurrant jam uses equal quantities of sugar and fruit and some recipes use more sugar than fruit.
Low sugar version
Ultra low sugar version
Jostaberry jam 900 grams fruit 1000 grams sugar
Jostaberry jam 1275 grams fruit 1000 grams sugar
Blackcurrant jam 900 grams fruit 1000 grams sugar
Blackcurrant jam 1500 grams fruit 1000 grams sugar
Regarding the method – I just put sufficient water to cover the fruit and then bring it to a rolling boil until it reaches setting point. However with less sugar it takes more boiling to reach a setting point and you may get less jam as well, having boiled off more liquid.
I have also made redcurrant jelly and gooseberry jelly, both of which are a fabulous pink colour, I used the conventional amount of sugar to liquid for these – ie 600 ml of liquid to 450 grams of sugar.
Forest gardening principle: whether in abundance or not, harvest only enough.
Here’s something for your book wish list all you forest gardeners and aspiring forest gardeners – Alan Carter, who has been blogging for years about his forest garden in Aberdeen (Scotland) has written a book which is due for release later this year. His recent blog post gives more details here.